Water Damage Restoration in New Hampshire
Water Damage Restoration in New Hampshire: What to Do in the First 24 Hours (and What Pros Do Next)
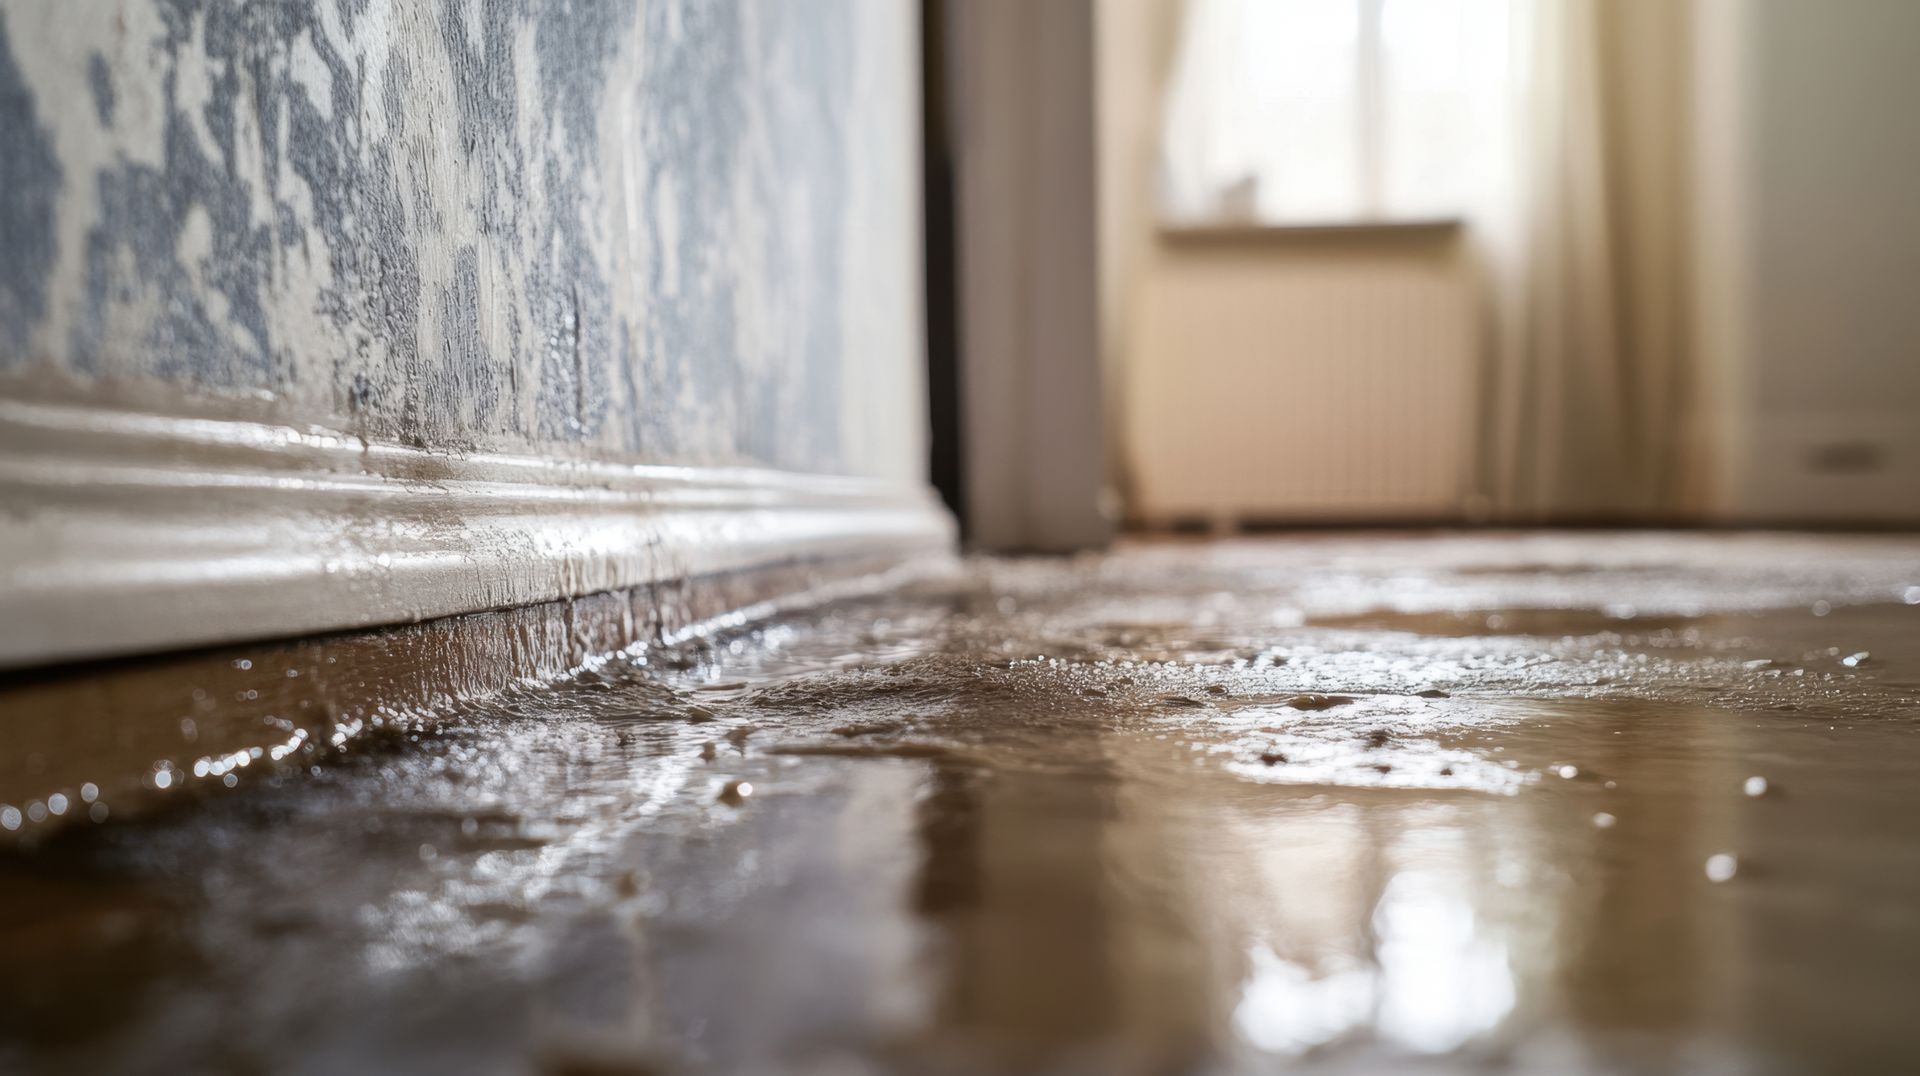
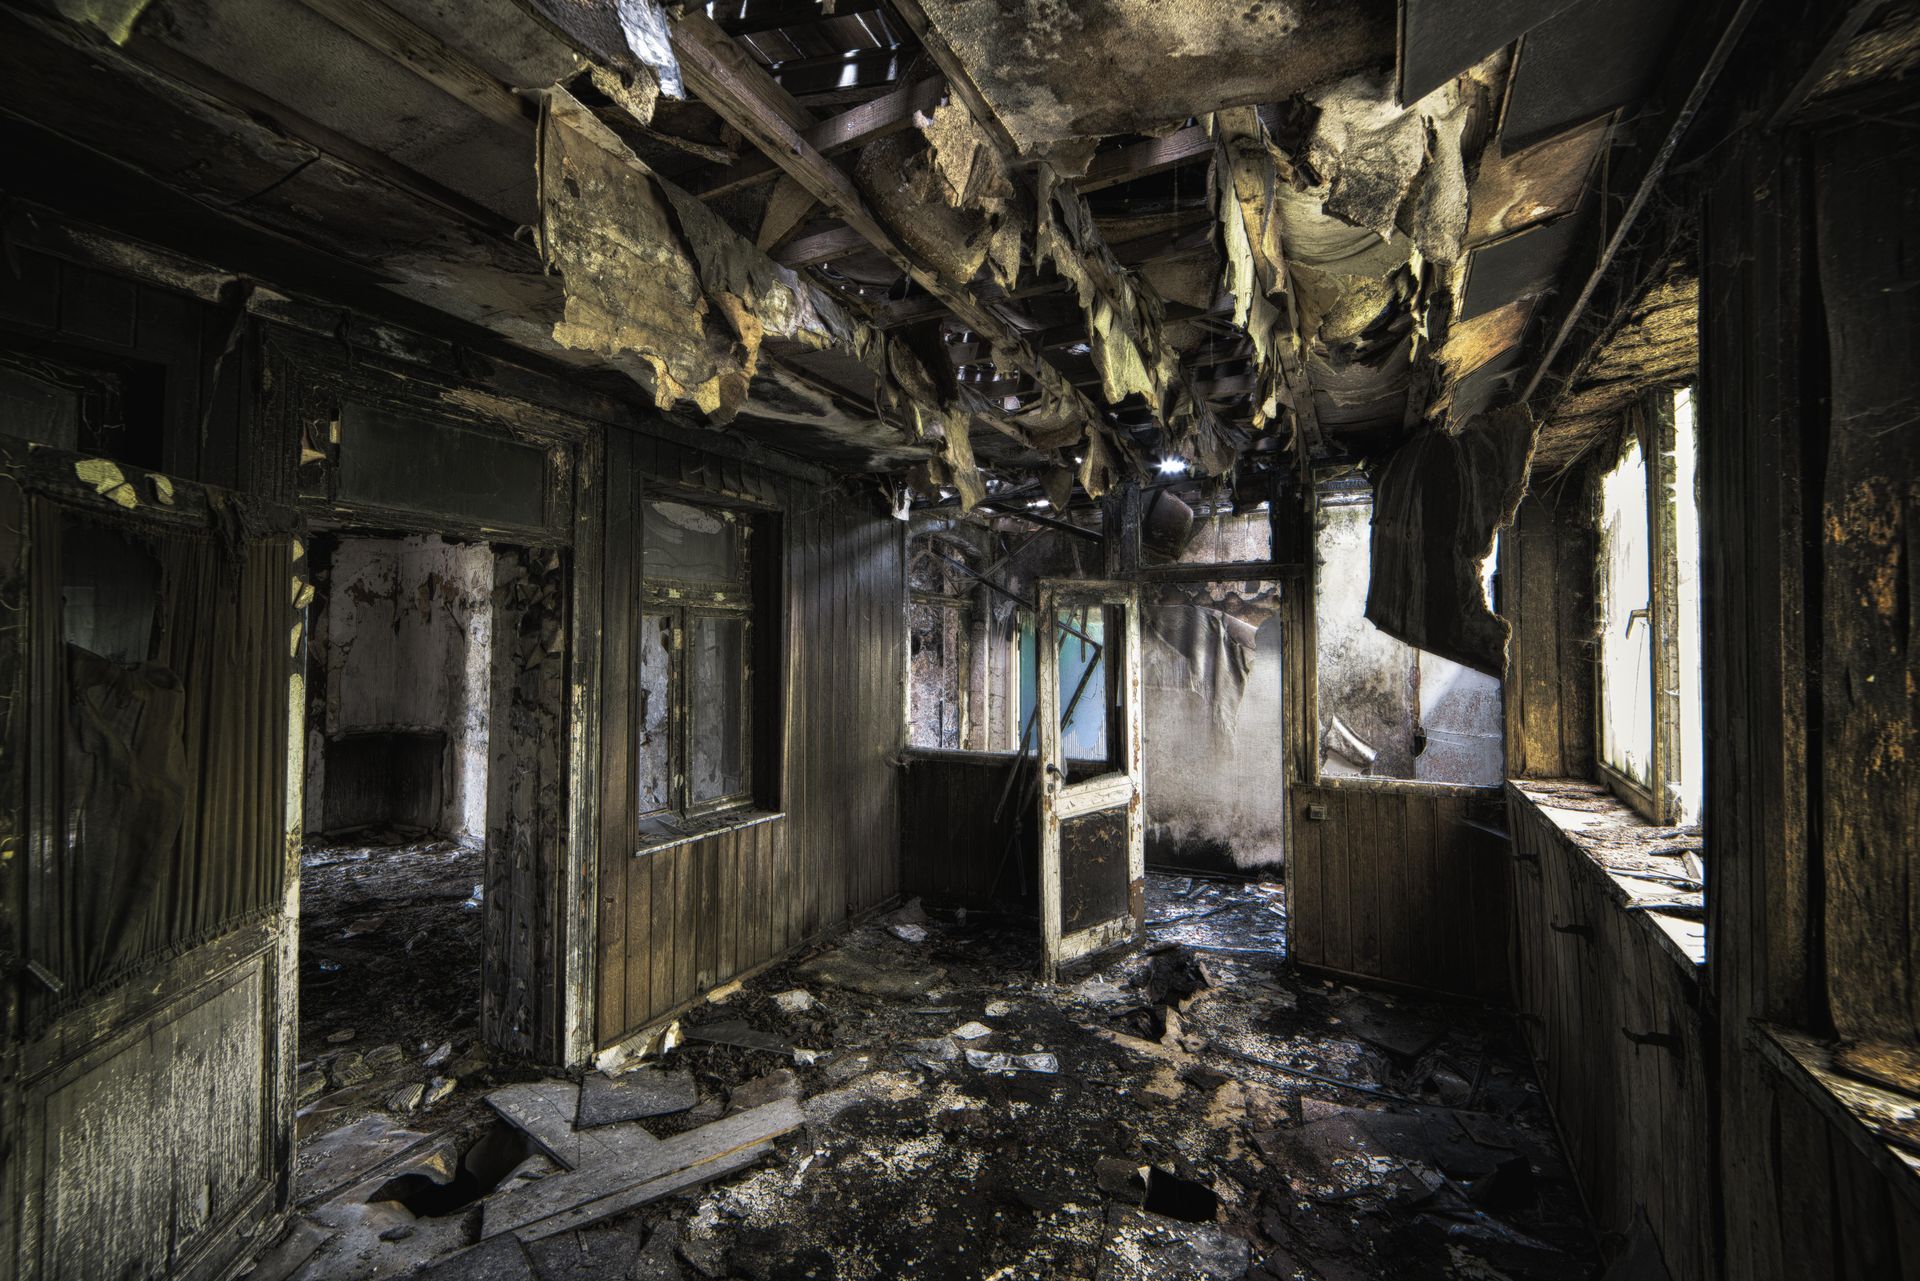
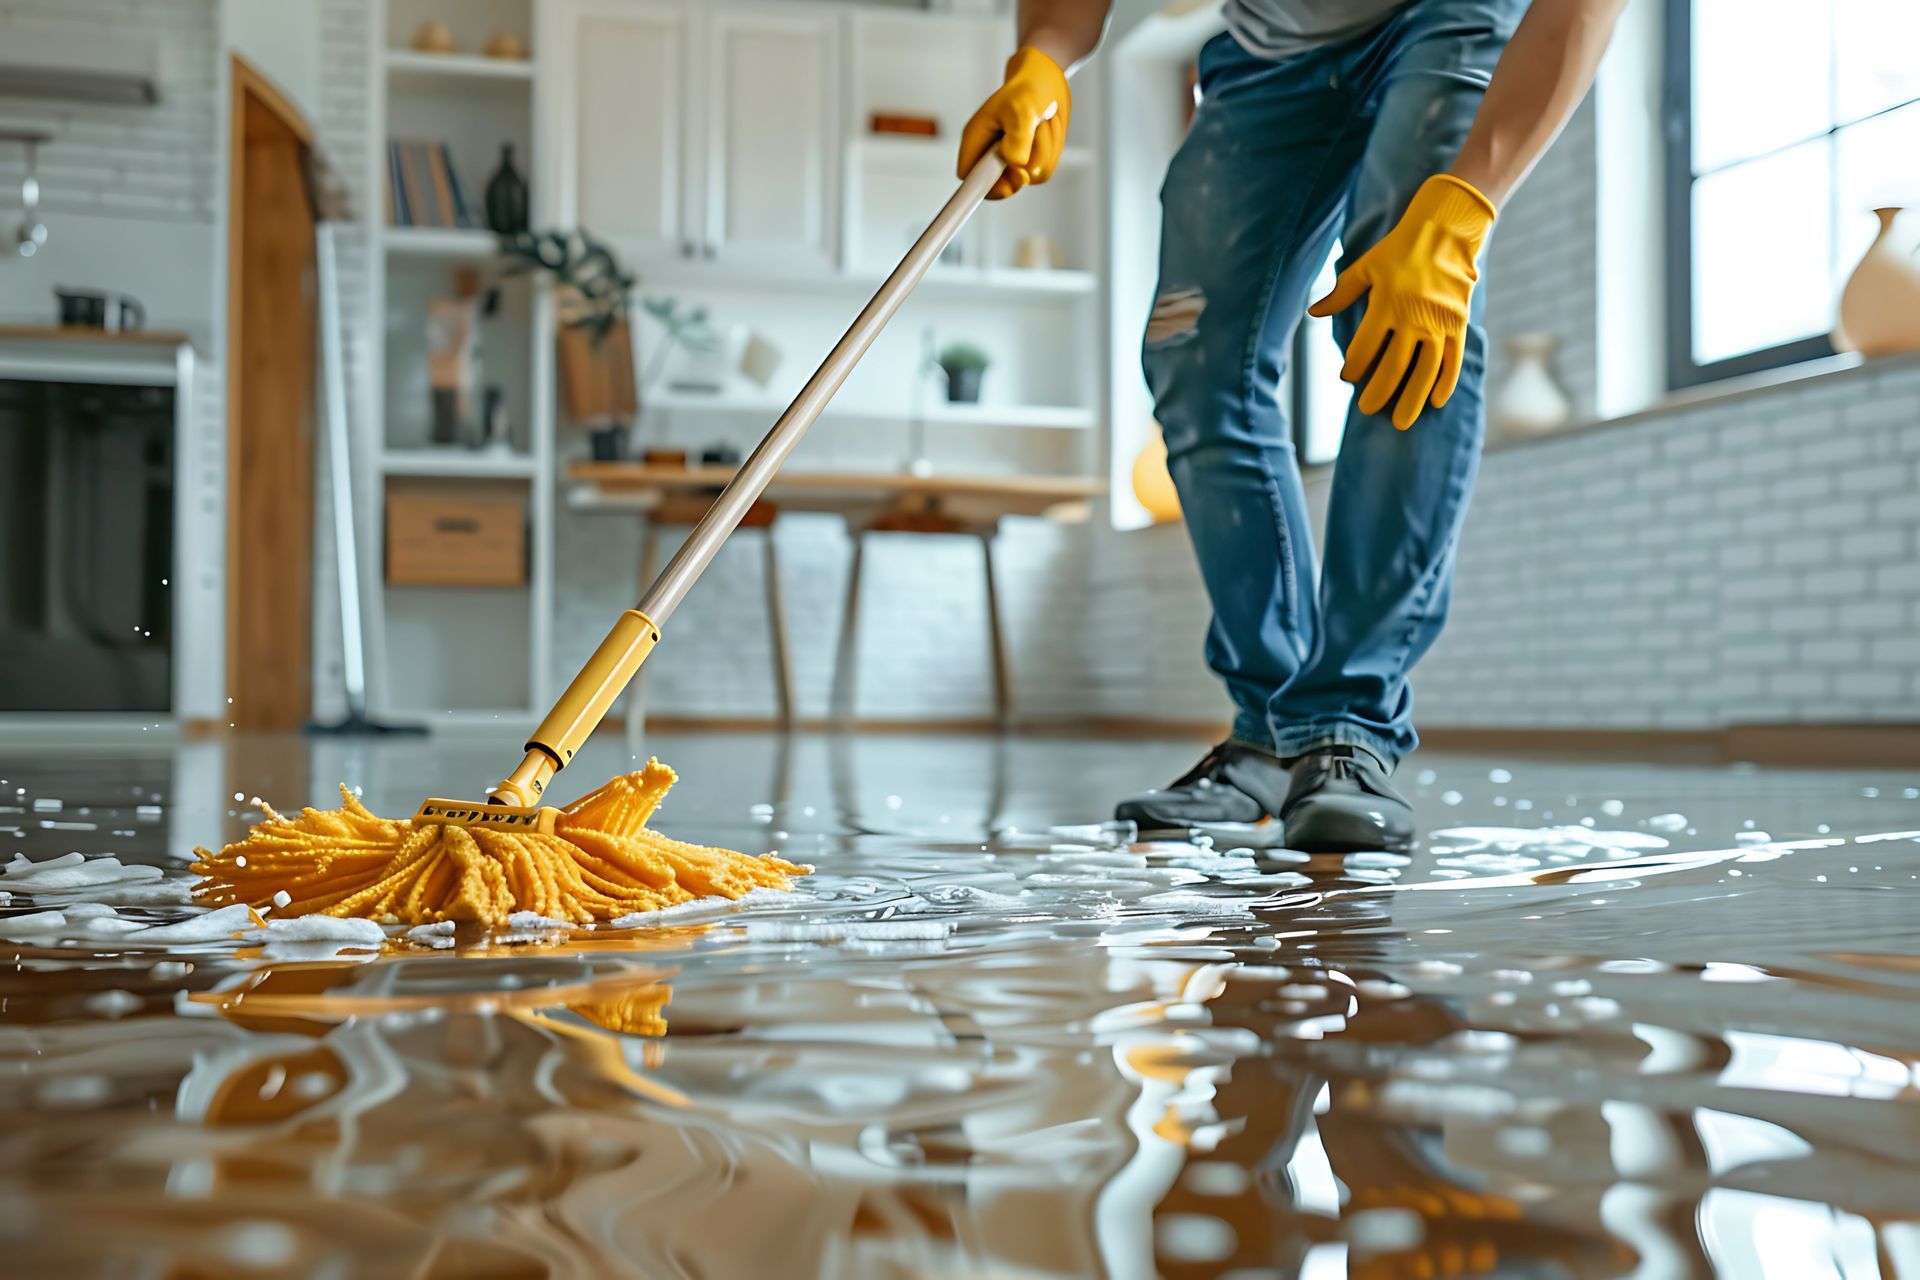
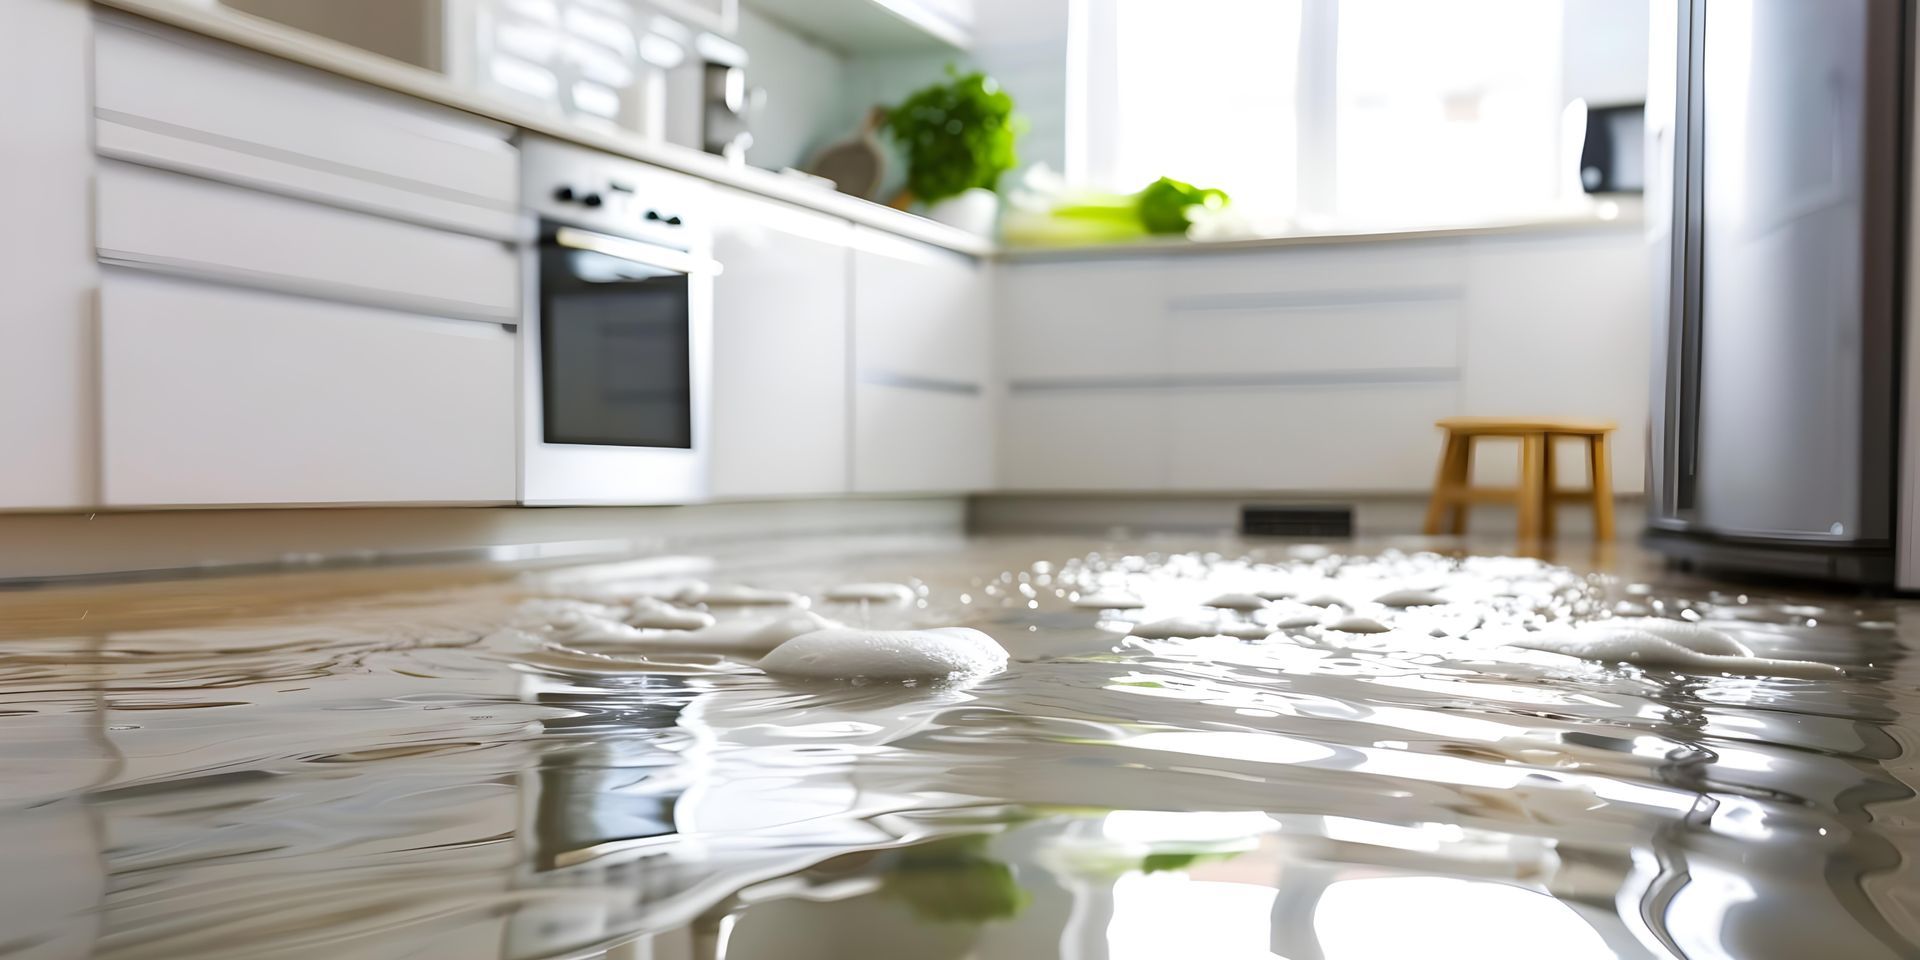
Water damage can go from “a small leak” to a major rebuild faster than most homeowners expect—especially when water slips under flooring, wicks into drywall, and settles into insulation. Whether the cause is a burst pipe, appliance leak, storm intrusion, or an overflow, water damage restoration is all about speed, accuracy, and complete drying.
If you’re facing water damage in your New Hampshire home, use this guide to protect your property, limit repairs, and understand what a professional restoration team should do to make the fix last.
Step 1: Stop the water damage at the source (safely)
If the leak is from plumbing or an appliance, shut off the nearest valve (or the main shutoff if needed). If water damage is near outlets, light fixtures, or appliances, treat the area as an electrical hazard and avoid standing water until power can be shut off to the affected zone.
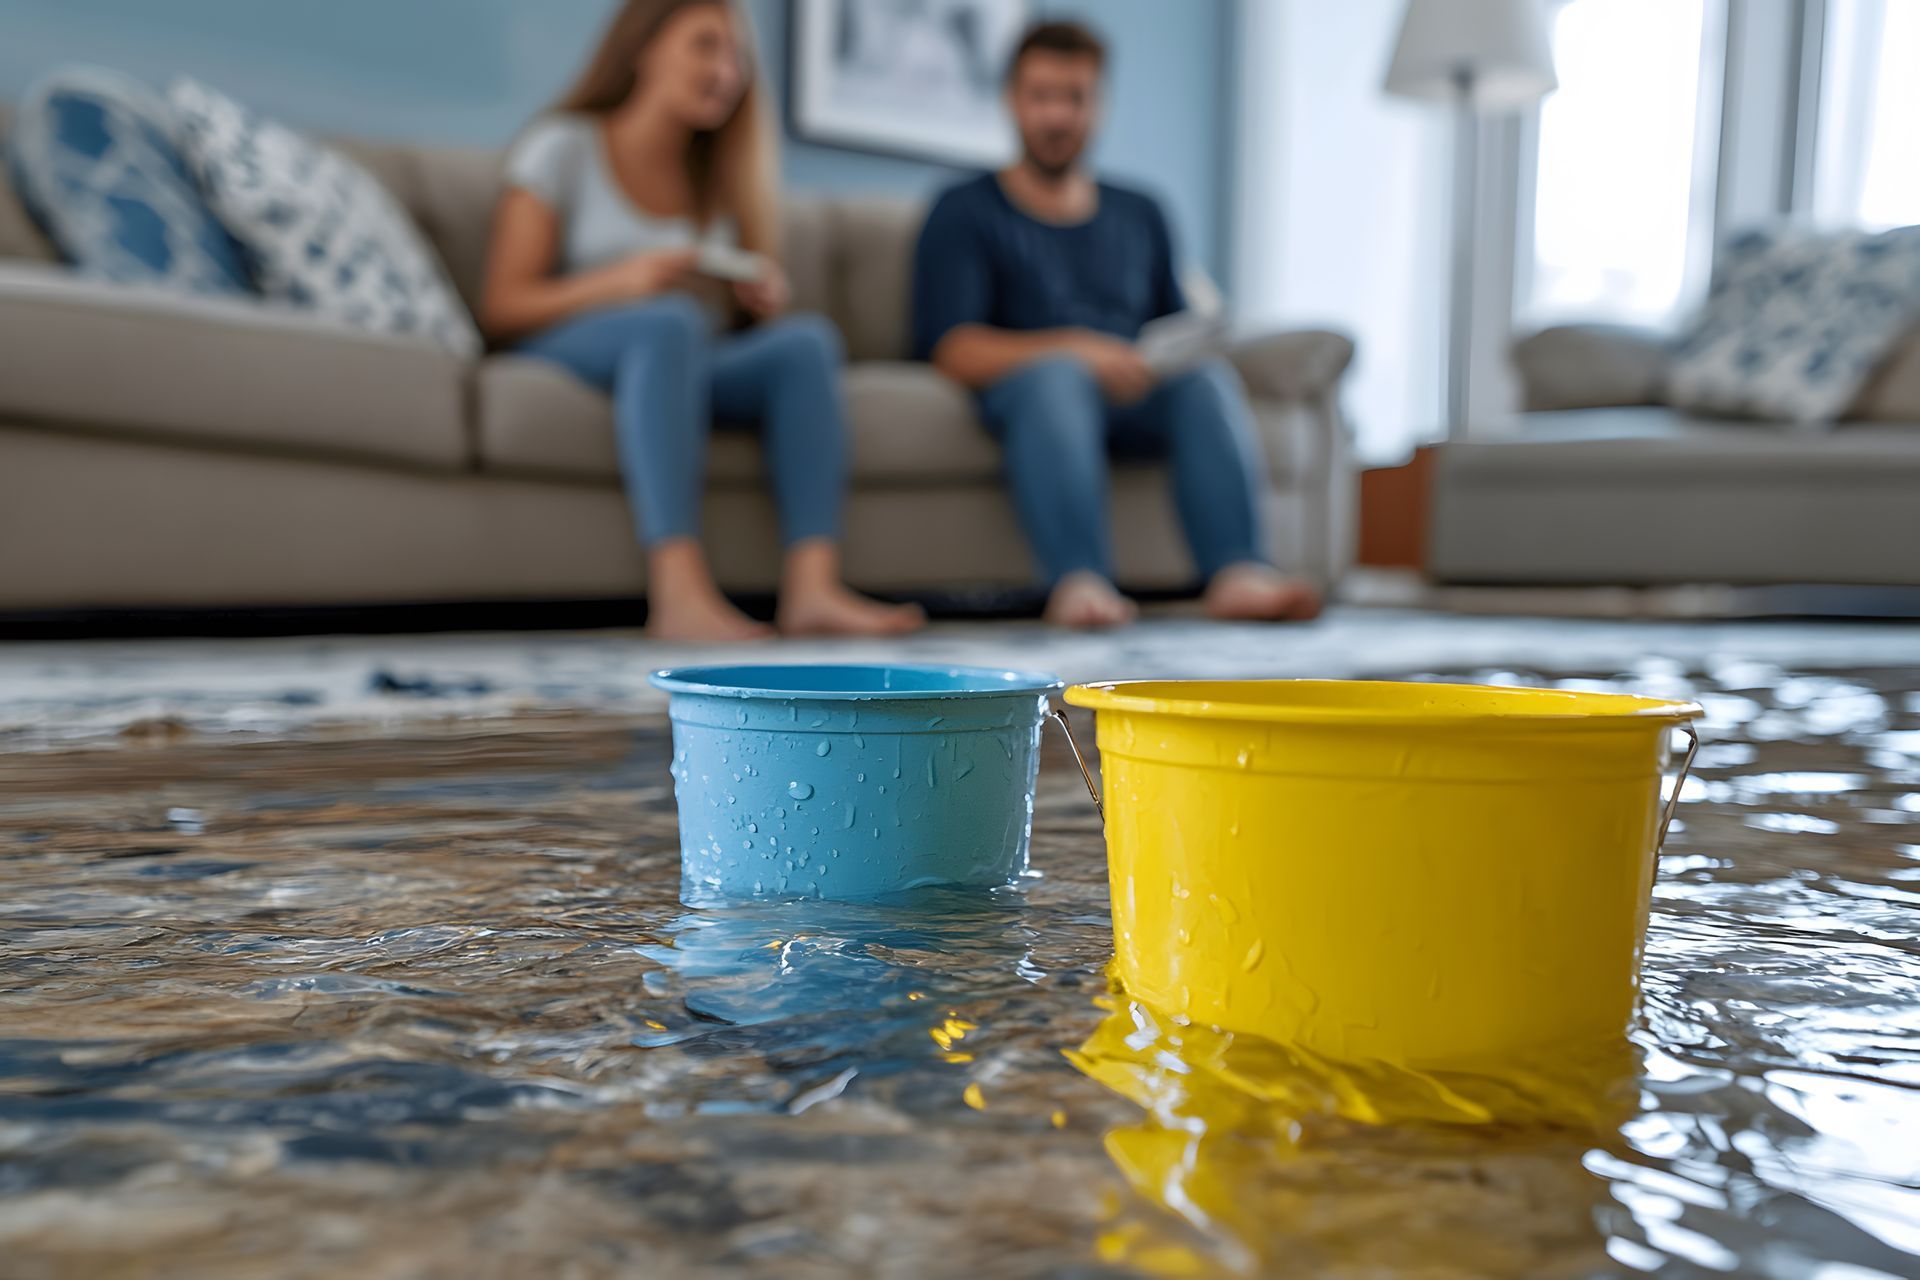
Step 2: Prevent water damage from spreading
Water travels—under thresholds, into closets, and behind baseboards. If it’s safe:
- Move furniture, rugs, and valuables to a dry area
- Use towels at doorways to slow spreading
- Place buckets under active drips
- Lift curtains and remove items from lower shelves
This doesn’t replace professional drying, but it can reduce how far the water damage migrates.
Step 3: Document the water damage before heavy cleanup
Before you tear out materials or throw anything away, take clear photos and a quick video walkthrough of:
- The source area (if visible)
- Floors, walls, ceilings, and baseboards
- Damaged furniture and personal items
- Any staining, swelling, warping, or bubbling paint
Good documentation helps keep restoration decisions clear and supports the insurance process if you file a claim.
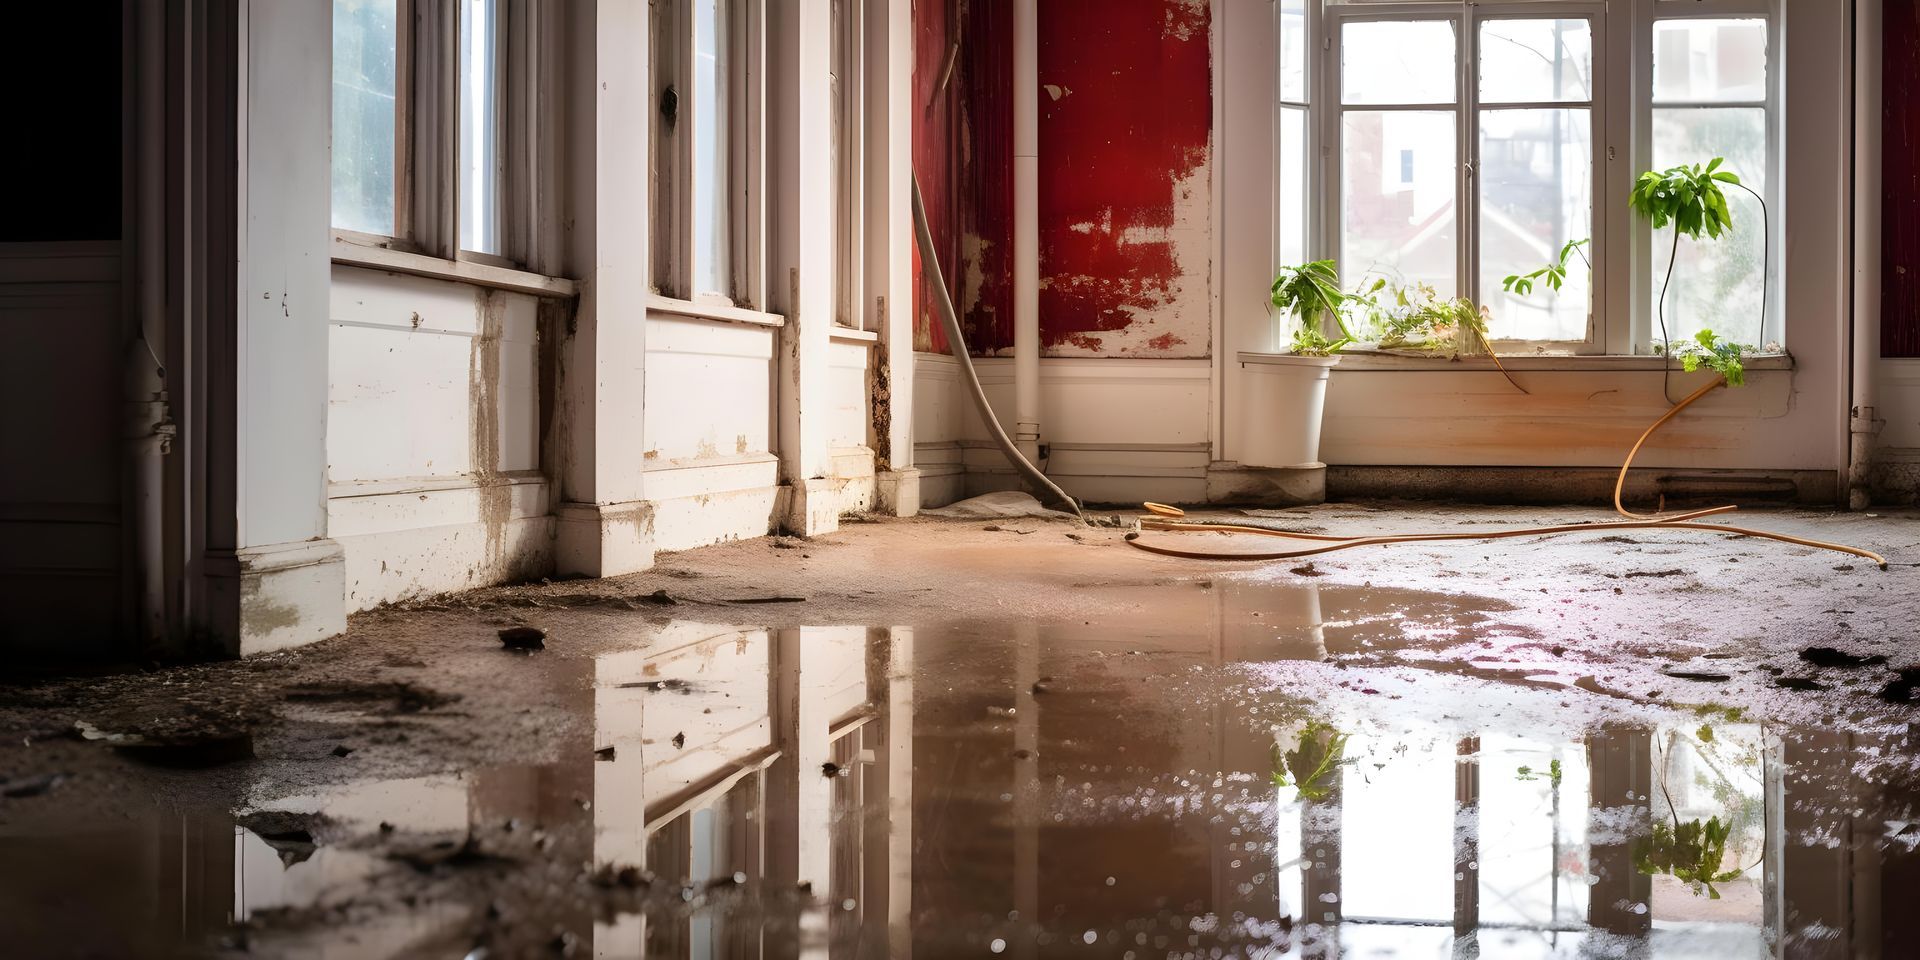
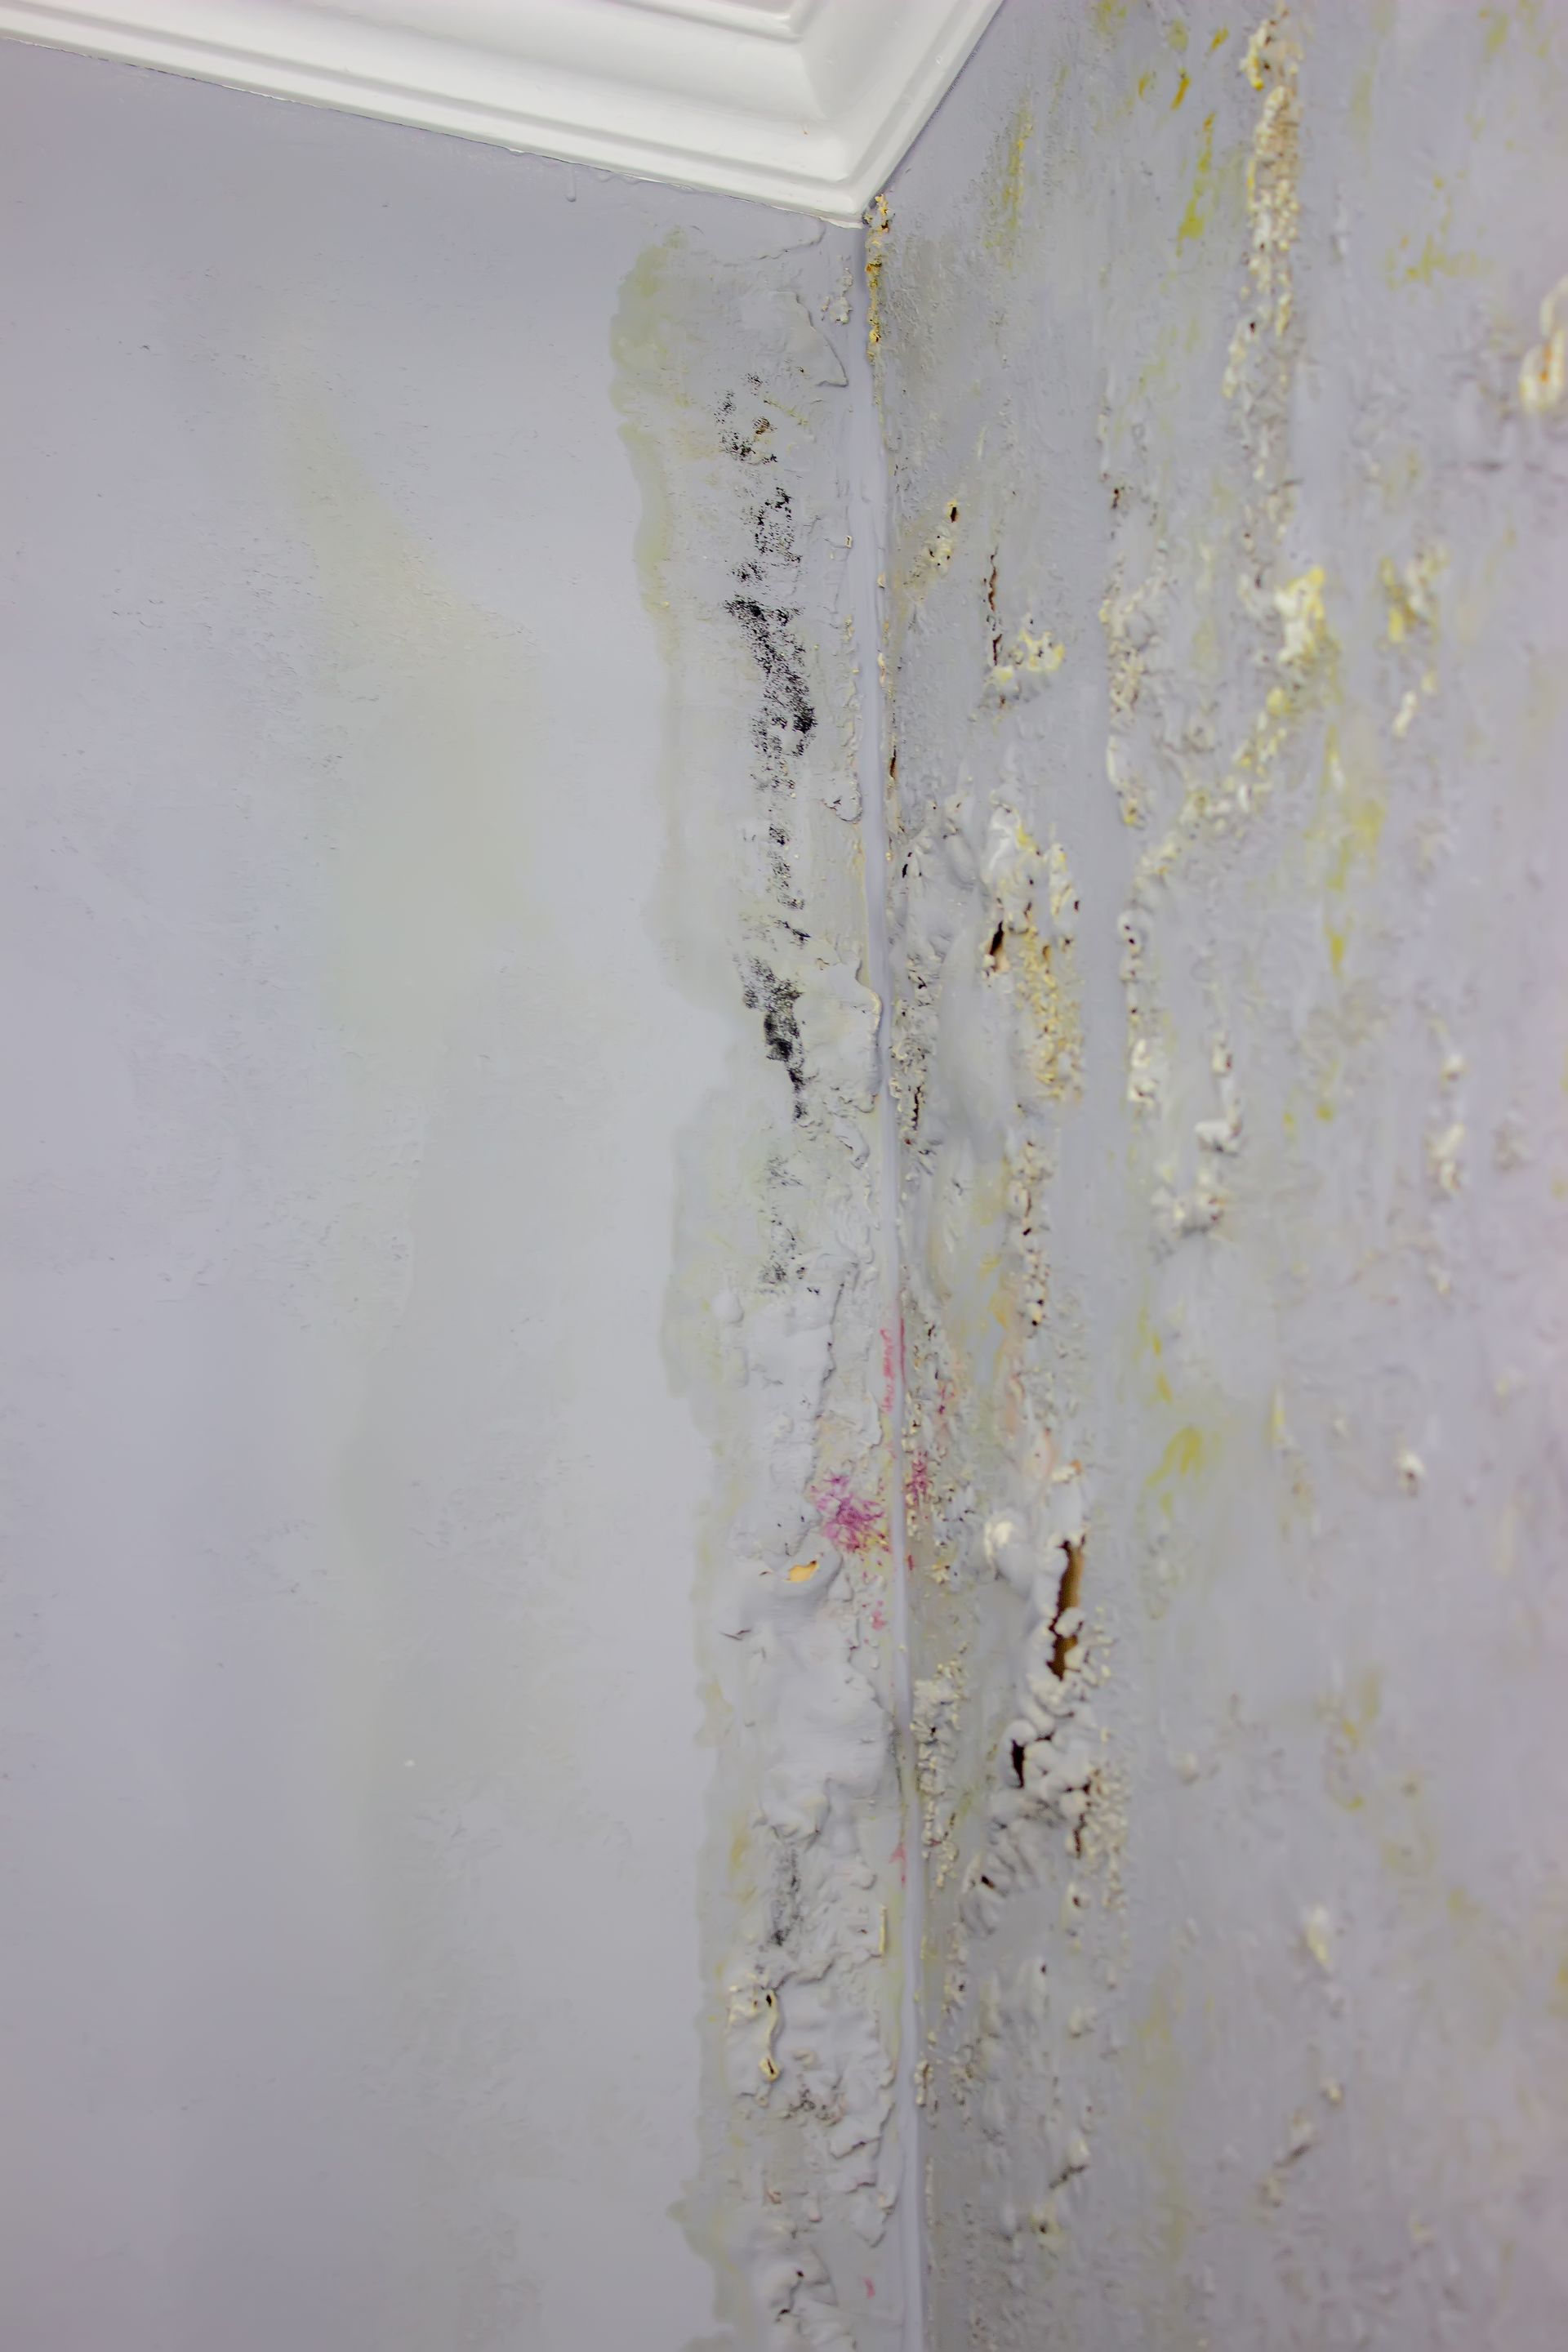
Step 4: Don’t confuse “surface dry” with “fully dry”
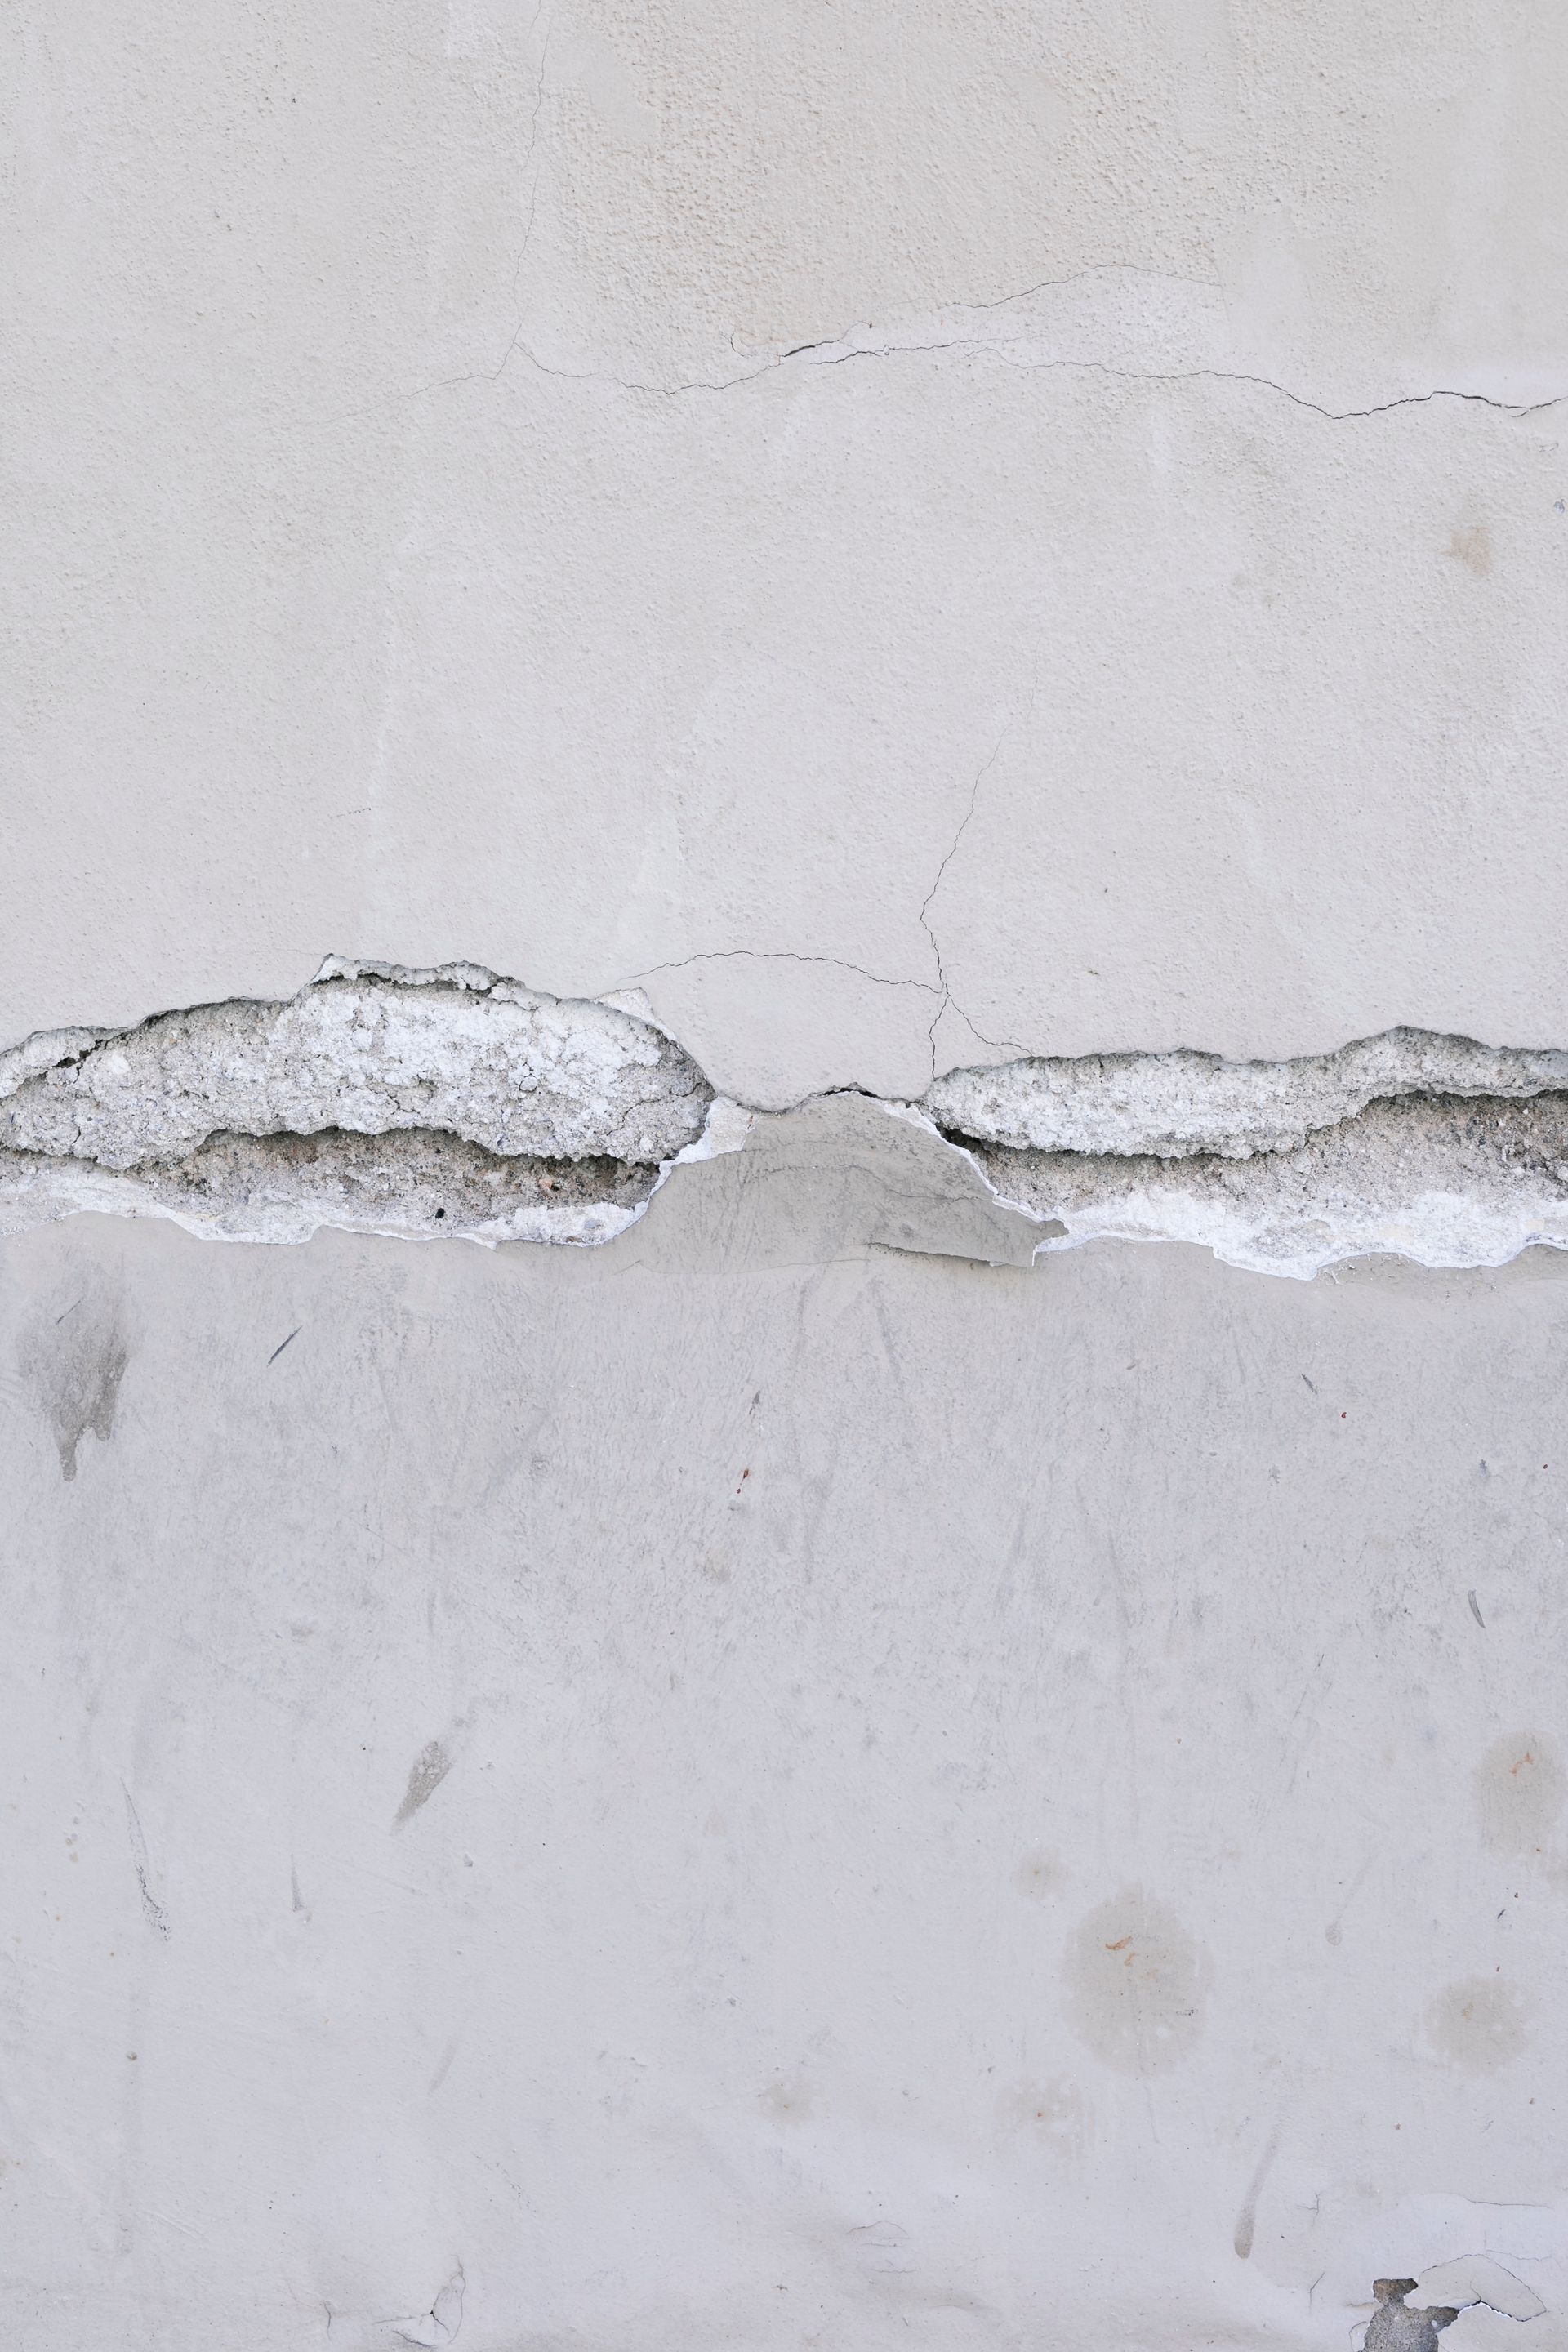
One of the most expensive mistakes homeowners make is assuming the water damage is resolved because the surface feels dry. Moisture can remain:
- Under carpet padding
- Beneath floating floors
- Behind baseboards and drywall
- In insulation, framing, and subfloors
That hidden moisture is what causes odors, swelling, and recurring damage days later.
Step 5: What professional water damage restoration should include
A true water damage restoration plan should be methodical—not guesswork. Look for a process that includes:
- Inspection + moisture mapping to identify all affected materials
- Water extraction (when there’s standing water)
- Commercial drying + dehumidification to remove moisture from materials and air
- Verification monitoring until safe moisture levels are reached
- Cleaning and sanitizing as needed (especially after contaminated water)
- Reconstruction only after drying is confirmed
Step 6: Prevention tips that reduce repeat water damage
Once the emergency is handled, a few upgrades can reduce the odds of a repeat incident:
- Replace old washing machine hoses and fridge lines
- Keep gutters/downspouts directing water away from the foundation
- Check attic and roof flashing after storms
- Know where your main water shutoff is—and label it
- Use leak sensors near water heaters, sinks, and laundry areas
If your water damage involved walls, ceilings, multiple rooms, or any situation where moisture may be hidden, professional water damage restoration can save you from repeat repairs later. Use the contact form on the site to request an inspection and get a clear plan for drying, restoration, and next steps.